Do you want to take better pictures? Do you want a more professional-looking Instagram feed? If so, then one of the best ways to do that is with your own photography studio. The truth is, it’s much easier than most people think! In this blog post, we will talk about how to create your own photography studio at home and what equipment you need in order to get started.
Creating your own photography studio at home is a great way to get your projects photographed without needing the budget for photography studio hire in London or wherever it is that you live. Photography studio hire in East London for example, can be very effective but also expensive depending on what your project’s budget is and the exact shoot locations in London.
What do I need for a photography studio
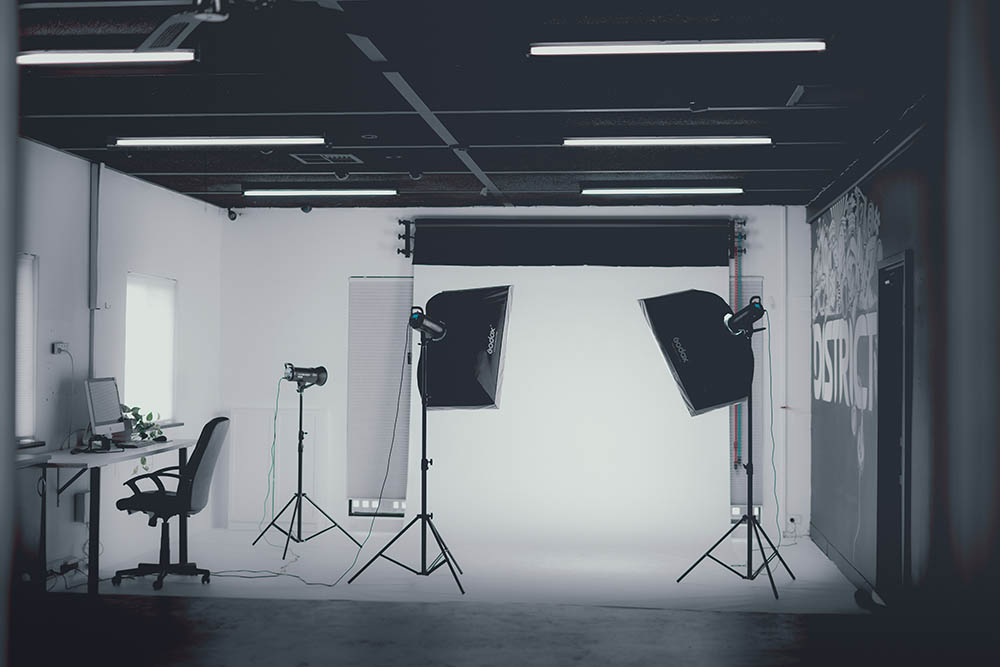
When it comes to what you need for a photography studio, the first and most obvious thing you will need is a space dedicated specifically to your photoshoots. This can be an entire room like in large homes or even just part of one if that’s all you have available. If this isn’t possible, then try using what little space you do have as creatively as possible!
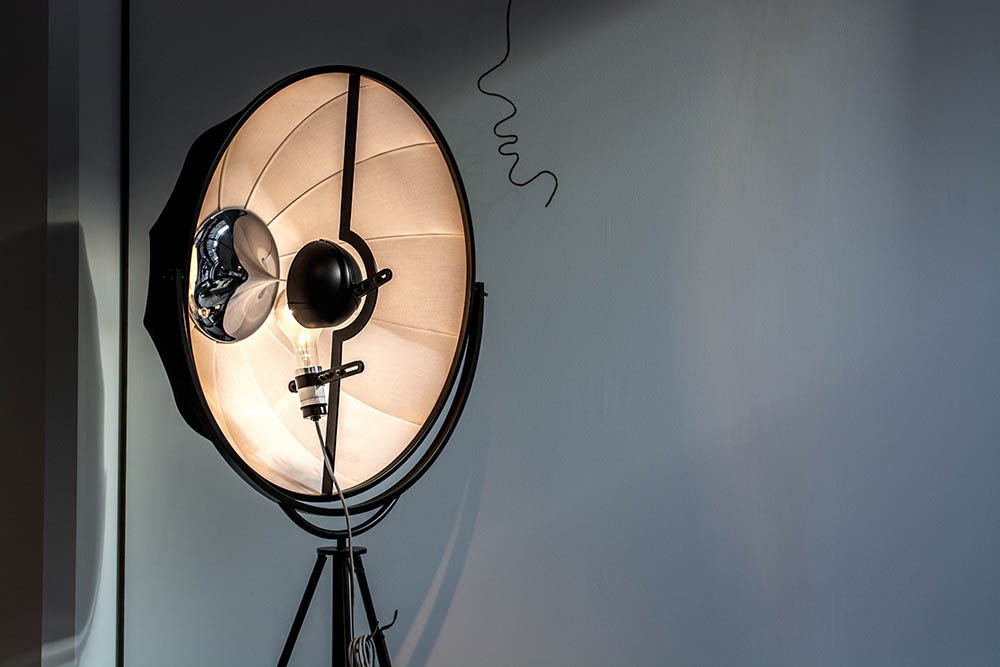
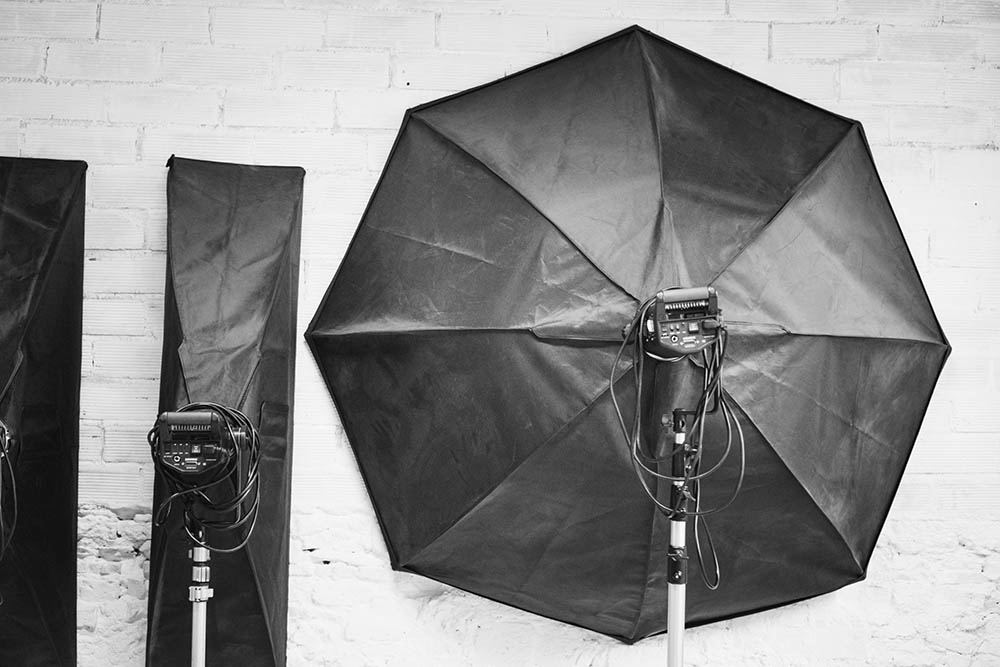
The next thing that will be needed is some sort of lighting system such as softboxes. While natural light does work well too, not everyone has enough windows in their home so other options are required here. One option would be purchasing inexpensive clamp lights from hardware stores which can oftentimes come with stands for them too! You could also use desk lamps but these won’t be able to be moved around as easily.
The next thing that’s helpful is what is called backdrops. Backdrops can come in many different forms and colors but the main point here is they make your pictures look more professional when you take them. The most common backdrop types would include paper (such as what you decorate school lockers with), fabric, vinyl, or even seamless paper rolls which will allow for much easier clean up afterward! When choosing what type of backdrop to use it really just depends on what kind of effects you’re trying to accomplish with each photoshoot so keep this in mind while shopping for one!
Now let’s talk about how to actually set everything up once you have your space ready and your equipment purchased/rented.
How to make a photography studio at home
There are three main lighting options to consider when it comes to creating a photography studio at home. The first of which is using natural light by opening up any windows that can be opened and then positioning your subject near one such as against the wall next to the window. This will allow for some great pictures but you need to make sure there aren’t too many shadows on their face from where the sun is hitting them or else this could result in photos with poor exposure.
The second option would be what’s called a two-light setup which uses both a key light (to illuminate halfway between floor and midline) and an accent light (typically above camera lens). A third, fill-in light should also be added if possible so as not to have too many shadows in the photos.
The third option would be a more complicated three-light setup that uses one main key light on either side of the camera lens, and then another above or behind to fill in any shadows that might appear. This is normally used by professionals but can also work well for beginners as it’s easier than you think! We recommend using LED photography lights when setting up your own home studio since they are very portable yet still produce high-quality results.
Another thing to consider when creating a new photography studio at home is how much room there will actually be for people inside this space while taking pictures if it’s not large enough for them all to fit comfortably inside without being cramped together. This could mean having some members of the photoshoot stand outside of it instead and then having them step inside one by one to take their photos individually. This will help you avoid any unnecessary distractions that may come from a large group together in such a small area which could be distracting for your subject(s).
When setting up your new home photography studio, make sure you check everything over once before using it the first time as there’s nothing worse than getting halfway through shooting only to realize something isn’t working correctly!
Now let’s get down to how much money this is actually going to cost us. If you already own most equipment pieces then this can be a very inexpensive project but if not it could end up costing quite a bit more than expected! We recommend shopping around for deals on different camera lenses, stands, tripods, and even lighting setups before purchasing anything since these are normally the priciest parts of creating your home photoshoot studio space. This will help bring costs down while still getting everything that you need here which definitely helps when shooting at home isn’t an option for whatever reason!
One final thing we’d like to mention about setting up your new photography studio is making sure to take it all down after you’ve finished using it. This will help keep everything in good condition for future use and also prevent any dirt from building up on the equipment which could lead to much earlier wear and tear than expected!
How to turn your bedroom into a photography studio
While it may not be very often that you have to take photos of yourself, there are still times where this is necessary. When setting up a photography studio at home for taking self-portraits, the main thing you will need would be a tripod and then some sort of lighting setup either above or behind your camera lens since natural light should only be used when possible.
One option here could include mounting an LED strip on top of whatever surface you’ll be using as the backdrop in front of which you place your equipment while another might use two separate lights one placed to each side. This way they illuminate both sides evenly without creating any shadows across your face which would make editing things later much more difficult! remember how important natural lighting can really be here.
Another reason to use natural lighting as much as possible when setting up your new photography studio is how it helps you avoid wasting time editing images afterward. While this may sound like a good idea at first, we strongly recommend avoiding the temptation of using any sort of artificial light, especially for self-portraits. Natural light allows you to focus more on how things look and less on how they’ll turn out later which can be very distracting!
In this blog post, we shared some of the most important things you need to think about when building your photography studio. We hope these tips will make it easier for you to plan and execute a successful home-based photo shoot.